Mastering Roller Painting: 7 Simple Steps in Lexington, KY, USA
Roller painting is a versatile and efficient technique for applying paint to walls, ceilings, and other surfaces. Whether you're refreshing the interior of your home or embarking on a DIY project in Lexington, KY, mastering the art of roller painting with paint rollers Lexington can help you achieve professional-looking results with ease. In this guide, we'll walk you through the seven simple steps of roller painting, from preparation to finishing touches, and provide valuable tips for success tailored specifically for Lexington, KY residents.
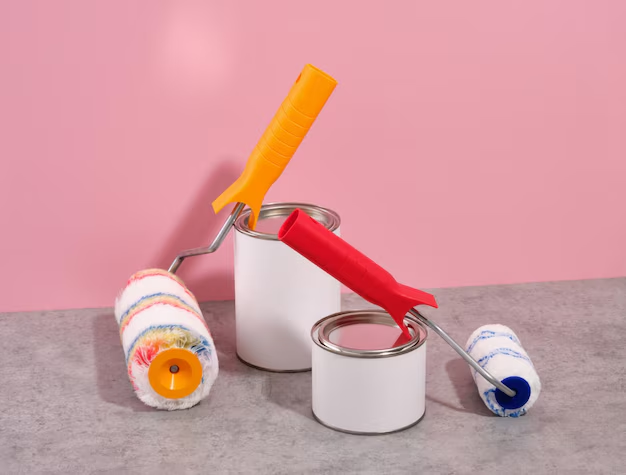
Understanding Paint Rollers
Paint rollers are essential tools for any painting project, offering quick and uniform coverage on large surfaces. Available in various sizes and nap lengths, paint rollers come with different types of covers, such as foam, polyester, and microfiber, to accommodate different paint types and textures. When selecting paint rollers in Lexington, KY, consider the surface you'll be painting and the type of paint you'll be using for optimal results.
7 Simple Steps to Master Roller Painting
Step 1: Prepare the Surface
Prepare the Surface: Eliminate dust, dirt, or debris by wiping it down with a damp cloth or sponge.
Repair Imperfections: Fill any holes, cracks, or dents with spackling compound and sand them smooth once dry.
Protect Surrounding Areas: Cover floors, furniture, and trim with drop cloths or painter's tape to prevent accidental spills and splatters.
Step 2: Select the Appropriate Paint and Primer
Select Quality Products: Choose high-quality paint and primer suitable for the surface you'll be painting.
Consider Sheen: Decide on the appropriate paint sheen for your project, such as flat, eggshell, satin, or semi-gloss, based on the desired finish and durability.
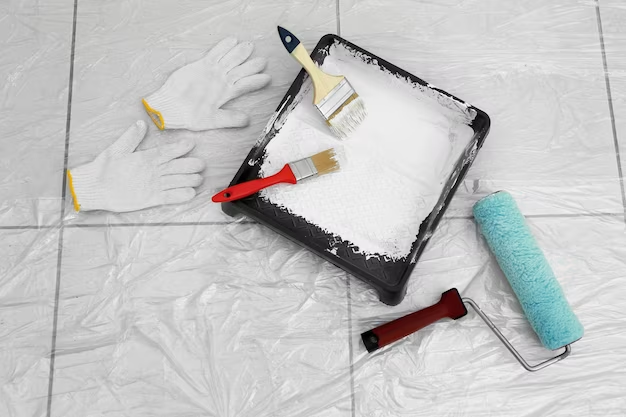
Step 3: Load the Roller
Pour Paint into Tray: Pour a moderate amount of paint into a paint tray, filling it no more than halfway to prevent spills.
Dip Roller: Dip the roller cover into the paint, then roll it back and forth on the ridged section of the tray to evenly distribute the paint.
Step 4: Apply the Paint
Start at the Top: Begin painting at the top of the wall or surface, working in small sections from left to right or right to left.
Roll in W-Shaped Strokes: Use a series of W-shaped strokes to evenly distribute the paint, overlapping each stroke slightly to avoid streaks and gaps.
Maintain a Wet Edge: Keep a wet edge as you work to blend each section seamlessly into the next, preventing visible lines and marks.
Step 5: Cut in Edges
Use a Brush: Use a high-quality paintbrush to cut in around corners, edges, and trim where the roller cannot reach.
Blend Edges: Feather the edges of the painted areas with the roller to blend them seamlessly with the rolled sections.
Step 6: Allow to Dry and Apply Additional Coats
Follow Drying Time: Allow the first coat of paint to dry completely according to the manufacturer's instructions before applying additional coats.
Apply Second Coat if Needed: If necessary, apply a second coat of paint using the same technique as before for optimal coverage and color depth.
Step 7: Clean Up
Clean Roller and Tools: Thoroughly clean the paint roller cover, tray, brushes, and other tools with soap and water or paint thinner, depending on the type of paint used.
Remove Drop Cloths and Painter's Tape: Carefully remove drop cloths and painter's tape from the protected areas, ensuring no paint drips or spills onto uncovered surfaces.
Tips for Success in Lexington, KY
Work in Sections: Divide large surfaces into manageable sections to prevent the paint from drying too quickly.
Use Extension Poles: For ceilings and high walls, use an extension pole to reach higher areas without the need for ladders.
Maintain Consistent Pressure: Apply consistent pressure on the roller to ensure even coverage and avoid roller marks.
Work in Natural Light: Paint during daylight hours or use ample artificial lighting to ensure accurate color representation and visibility of imperfections.
Ventilate the Area: Proper ventilation is essential when painting indoors to dissipate fumes and aid in drying.
When it comes to enhancing the interior aesthetics of your home in Lexington, KY, shutters for interior windows offer a timeless and elegant solution. Available in a variety of materials, including wood and composite, interior shutters add both style and functionality to any room. Whether you prefer the classic charm of plantation shutters or the sleek look of modern designs, incorporating shutters into your interior design scheme can elevate the overall ambiance of your space. Explore the range of options for shutters for interior windows in Lexington to find the perfect fit for your home's decor.
FAQs About Paint Rollers and Roller Painting
What type of paint roller cover should I use?
The type of paint roller cover you should use depends on the surface you're painting and the type of paint you're using. For smooth surfaces, use a short nap roller cover, while rough surfaces may require a longer nap cover for better paint pickup and coverage.
How do I prevent roller marks and streaks?
To prevent roller marks and streaks, avoid applying too much pressure on the roller and work in small sections with overlapping strokes. Use high-quality paint and primer to ensure smooth and uniform coverage.
Can I reuse paint roller covers?
While paint roller covers can be reused, it's essential to clean them thoroughly after each use to prevent paint buildup and ensure optimal performance. Replace worn or damaged roller covers for best results.
How do I choose the right paint roller size?
Choose a paint roller size that matches the surface area you'll be painting. For larger surfaces, such as walls and ceilings, use a wider roller to cover more area quickly. Smaller rollers are suitable for trim and narrow spaces.
Can I use a paint roller on textured surfaces?
Yes, paint rollers are suitable for textured surfaces, but you may need to use a longer nap roller cover to ensure proper paint coverage in the crevices and uneven areas of the texture.
Conclusion
Mastering roller painting is a valuable skill for homeowners in Lexington, KY, looking to tackle interior painting projects with confidence and efficiency. By following the seven simple steps outlined in this guide and implementing valuable tips for success, you can achieve professional-looking results and transform your living spaces with ease. Whether you're refreshing the walls of your home or adding a splash of color to a room, roller painting offers a versatile and effective technique for enhancing your home's aesthetic appeal. Embrace the art of roller painting in Lexington, KY, and unleash your creativity with every stroke of the roller.


Comments
Post a Comment